|
How to Carve a Cut Out Pattern The Easy Way - Using Sticker Paper |
||||
|
This is what we will be carving.
Page 3 Placing the Pattern On and Carving your Pumpkin 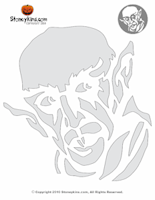  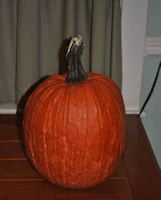  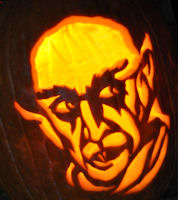 Here's a step by step on the entire process
| ||||
|
#24
Wipe Down and Dry the Pumpkin
First Wipe down the front of the pumpkin, with paper towels
We want to make sure it's Really DRY! Before Placing the Pattern on 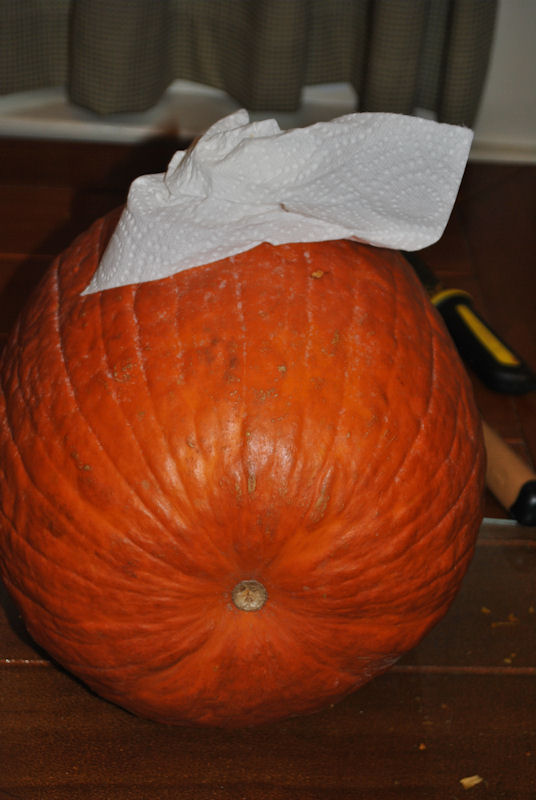
| ||||
|
#25
Trim Down the Pattern
Next Trim off the excess Paper from the Pattern
With a pair of Sissors 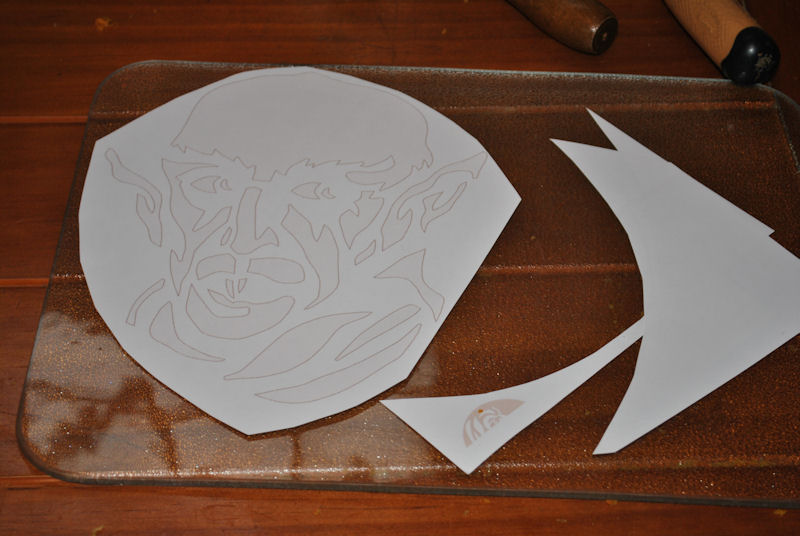
| ||||
|
#26
Place the Pattern On
Remove the Paper Backing of the Sticker Paper
Center the pattern on the pumpkin, Always work from the Center Out to remove as many wrinkles as possable Don't worry if there is still a few wrinkles Once we carve a section we can Lift the sticker Paper up to get the wrinkles out of the next section. 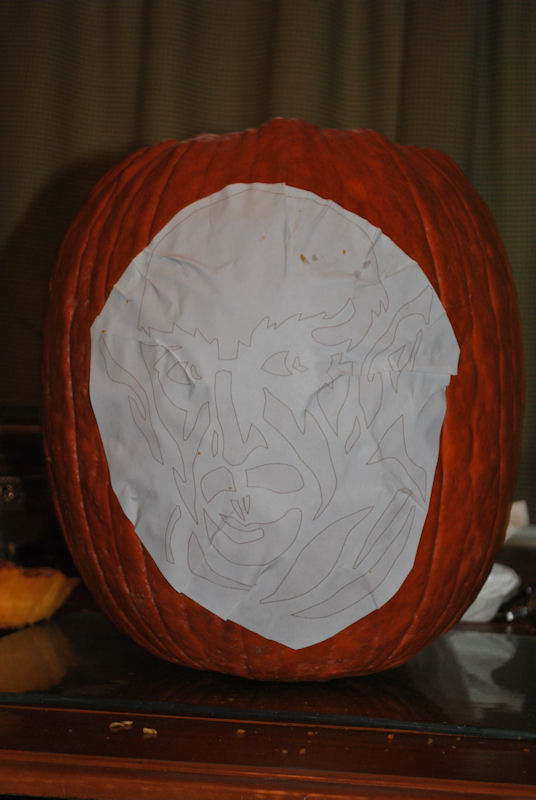
| ||||
|
#27
Get your carving saw out
Best Saw to Use
Were going to Use an X-Acto #2 Handel with #15 Keyhole saw blades Both can be found in Our Shop. or Craft Supply Stores 
| ||||
|
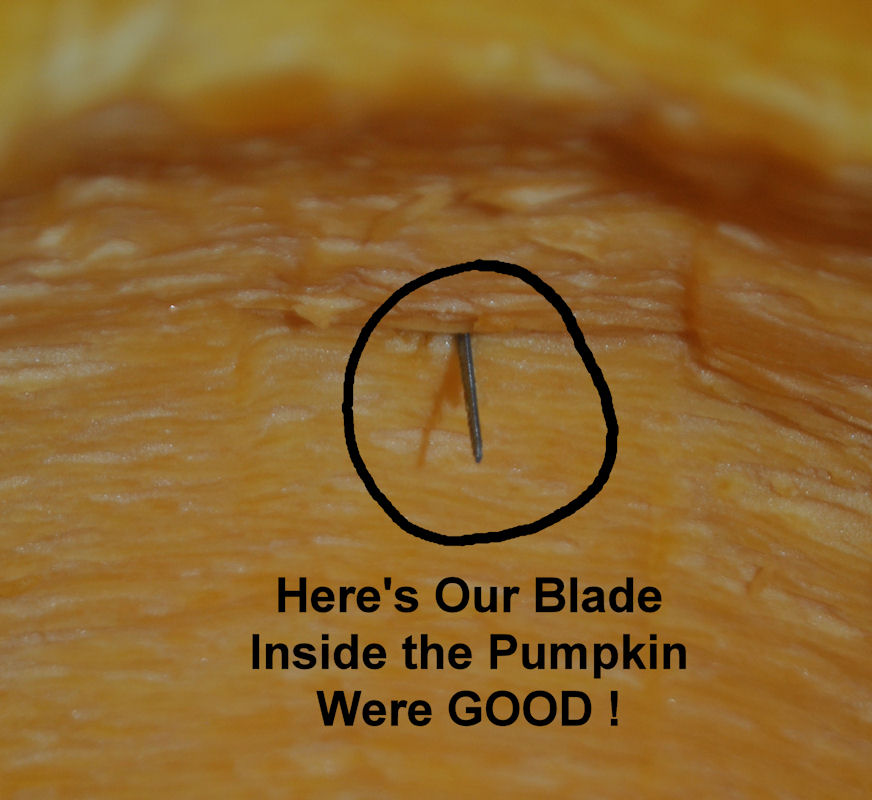
#28
First Lets TEST the Pumpkins thickness
We want to make sure the saw blade goes through the pumpkins Wall
Pick a Large Area of the Pattern, that will be cut out, and Take a Stab in the center of that shape! Place the saw all the way in
If not Remove Saw, and Use the Loop again and thin the walls More 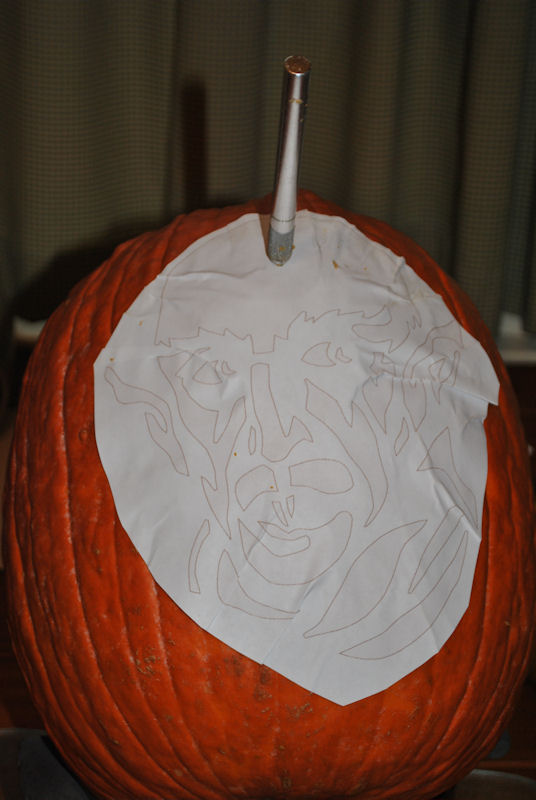
View inside the Pumpkin
| ||||
|
#29
Holding the Saw
Here's How to Hold the X-Acto (Just like a Pen)
I also like to place the Pumpkin on a cooking Pot. This Places the Pumpkin on a nice Angle. You can also stop then move the pumpkin as you carve. 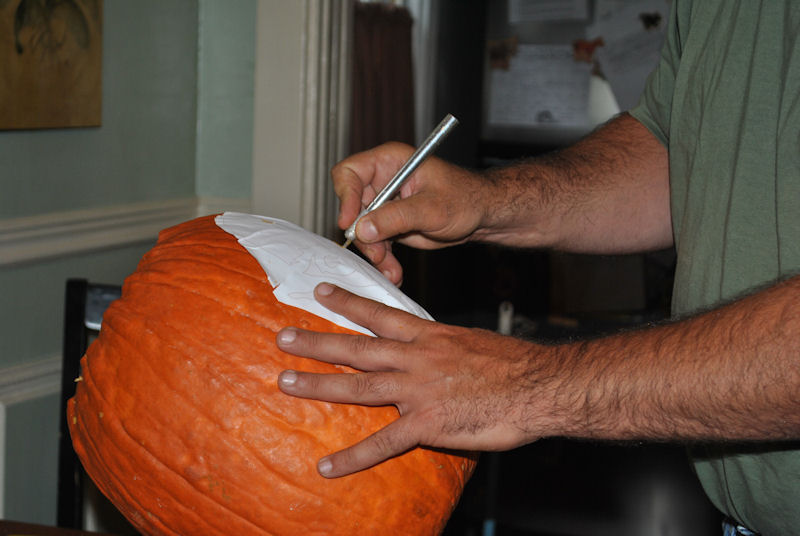
| ||||
|
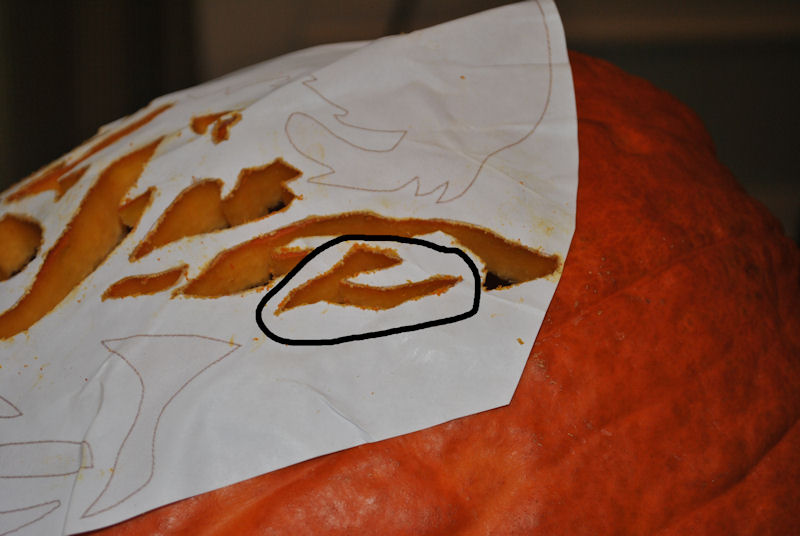
#30
Start carving the Pumpkin
Always Start in the Center and work your way Out
Carving right through the Pattern
Notice the Wrinkles on the Right, Now that the center is carved
NOTE: ALWAYS Pull the peices Out 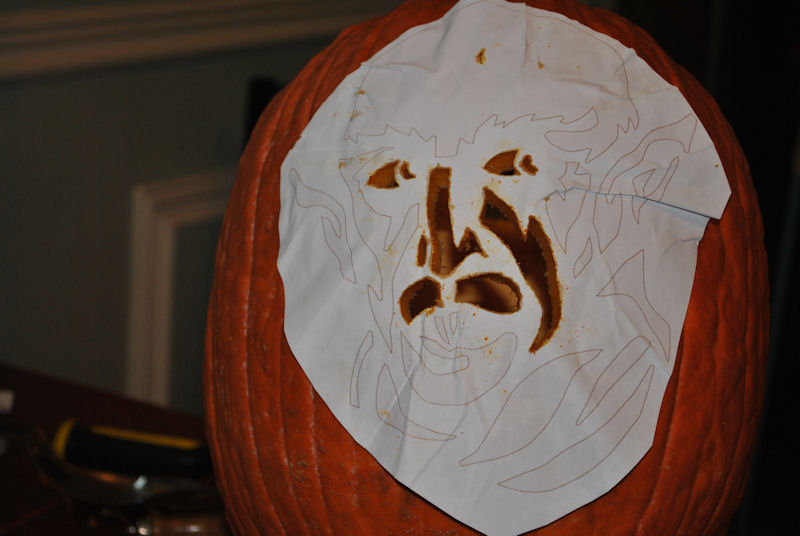
| ||||
|
#31
Here's a Tip
Notice this Crazy U Shape
Just because a Shape is Difficult does not mean you have to take it out as one piece. 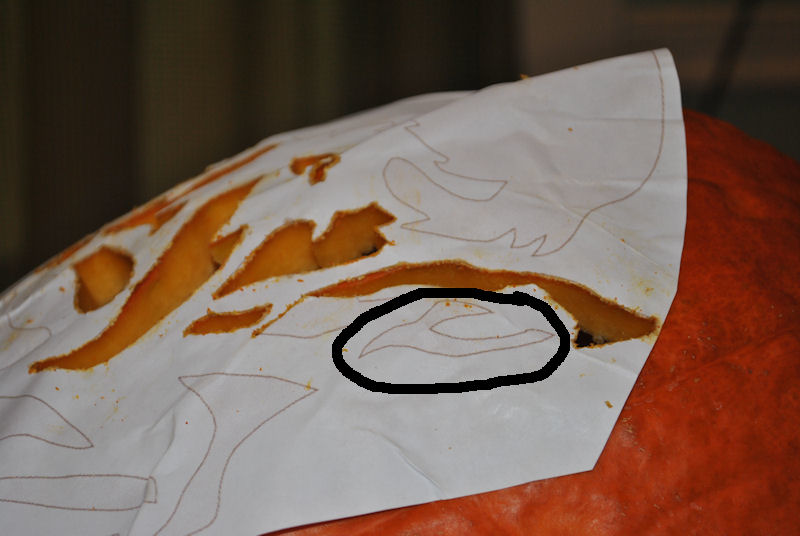
| ||||
|
#32
Here's how to remove Large or Odd Shapes
Were taking that shape out
in two seperate sections 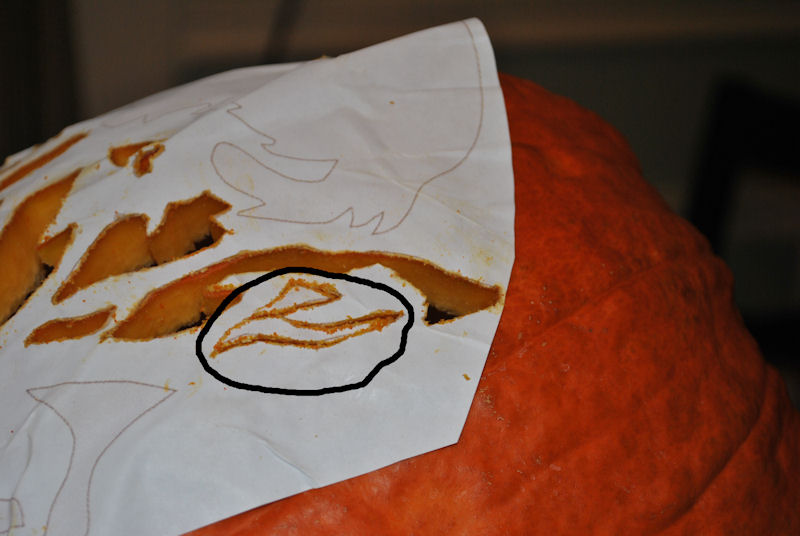 Ta Da
| ||||
|
#33
Fixing a Carving Mistake - a Boo Boo
ON Spite I cut toooo Far
Where the Yellow Line is
Next I'm going to show you how to fix a Mistake on a real Pumpkin
First let me cut the Last Shape out His Forehead 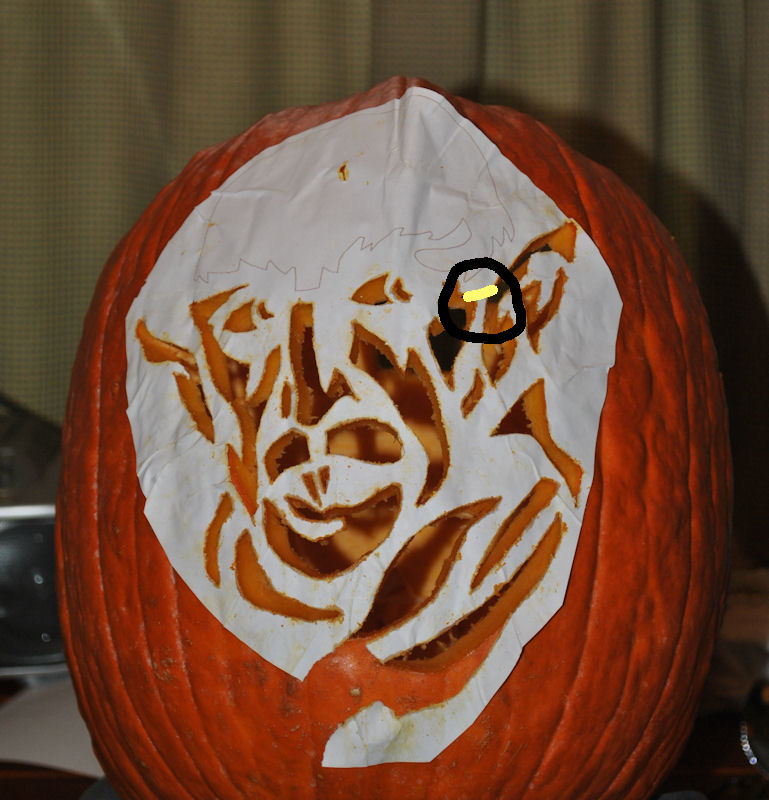
| ||||
|
#34
Get Crazy Glue
To Fix our mistake
Were going to Use Instant Crazy Glue.
Trust me it works GREAT ! You Can use any Crazy Glue, the tube, the one with the brush, or the one shown. 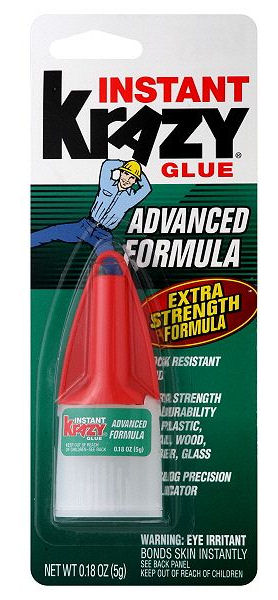
| ||||
|
#35
Gluing the section Or Peice Back on
Just Place the glue on the broken section, and Join together
I also add a little more on the seam, where the break was. 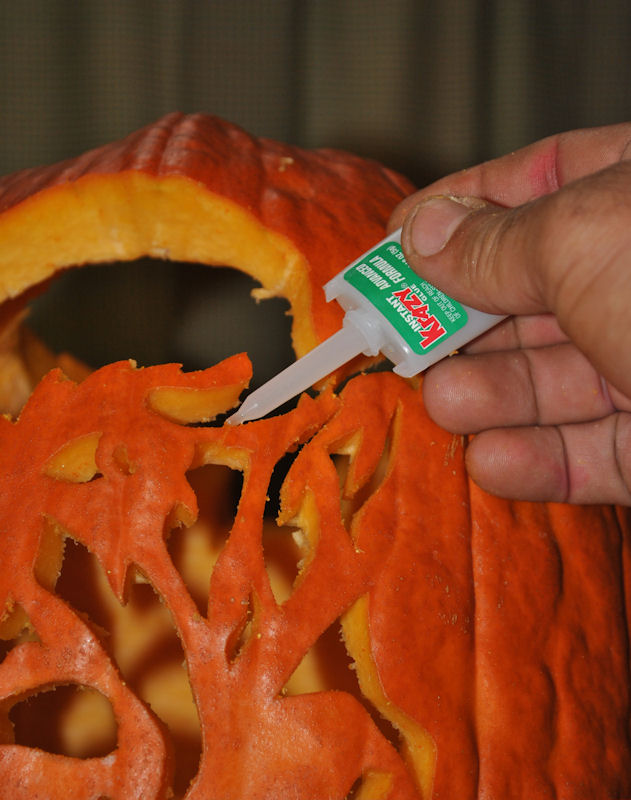
| ||||
|
#36
Our Carving is Done - Yippie !
Now we Just need to light it
I dont use Candles, I prefer Plug in Lights
If you have many Pumpkins in a row, you can use a string of C7 Christmas Lights. 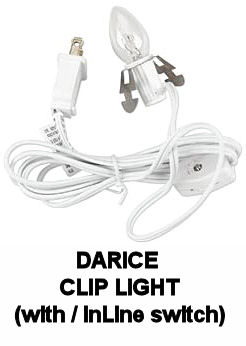
Side Note / Tip
If you do use a real Candle, Sprinkle some Cinnamon,
on the Bottom of the Lid When the Flame warms it, It will smell like a pumpkin Pie. | ||||
|
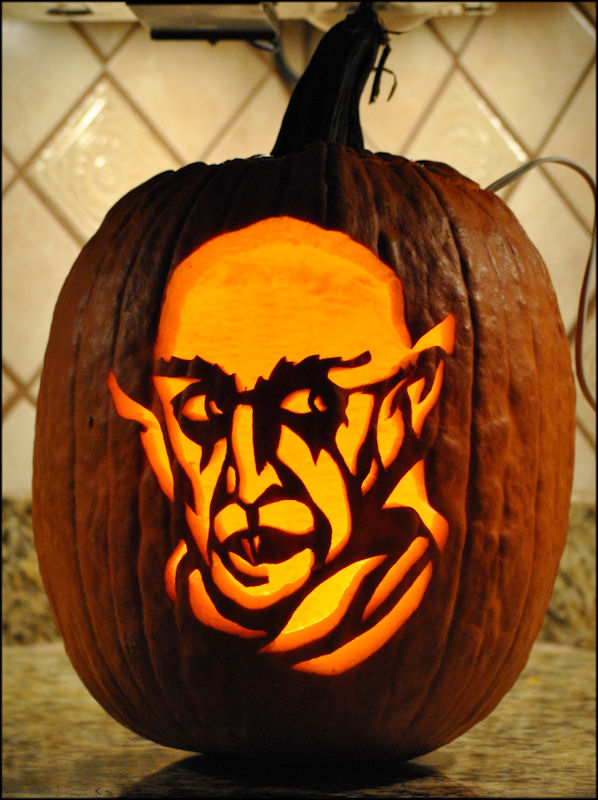
#37
Here's Our Finished Pumpkin
| ||||
| ||||
CARVING TOOLS - MEDIA - LINKS - SITE MAP - CONTACT US