How to Enlarge or Shrink Your StoneyKins Patterns |
||||
 | ||||
|
#1
This tutor will show you how to print your pumpkin patterns And Have the pattern Fill your Sheet of paper
Most Pattern sites including this one will add, a Copyright notice, or the websites Logo, We want to get the most from our pattern on one sheet of paper. Most carvers Carve Medium, Large and Jumbo size pumpkins this tutor will show you, how to print a pattern to match the size of your pumpkin.
 | ||||
|
#2
Use the Right Tool for the Job: And that Tool we recommend is "Poster Printer" by Ronyasoft.
Stoneykins has Partnered with Ronyasoft
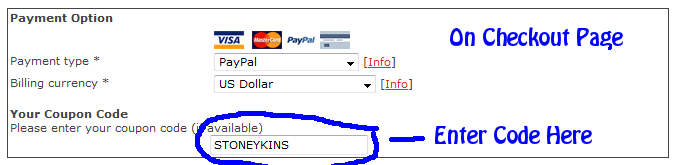
To offer our Visitors and Members 25% Off this Great Program Look Below for the 25% Off - Coupon Code
This is the only software, I use to print ALL my pumpkin patterns. | ||||
|
#3
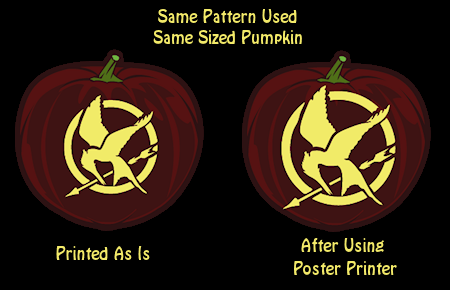
HERE'S AN EXAMPLE:
| ||||
|
#4
How to Use Poster Printer:
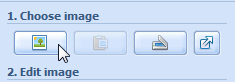
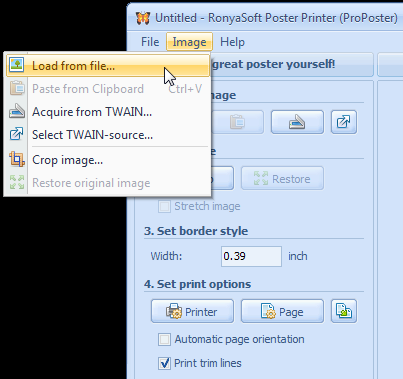
To Enlarge Pattern Image on one page Load your Pattern into Poster Printer. Click the Load From File Button
| ||||
|
#5
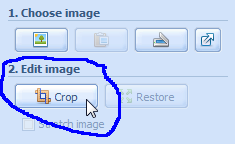
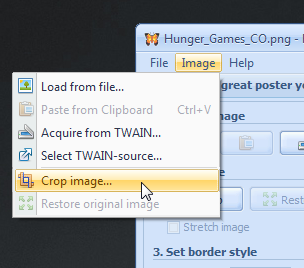
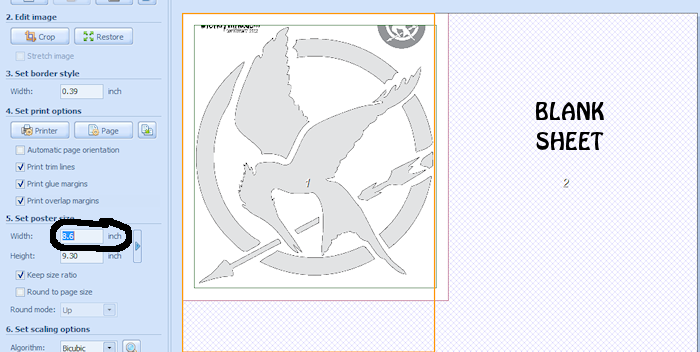
Lets Start First By Cropping our image. Click the Crop Button
Or Go to Image/Crop image
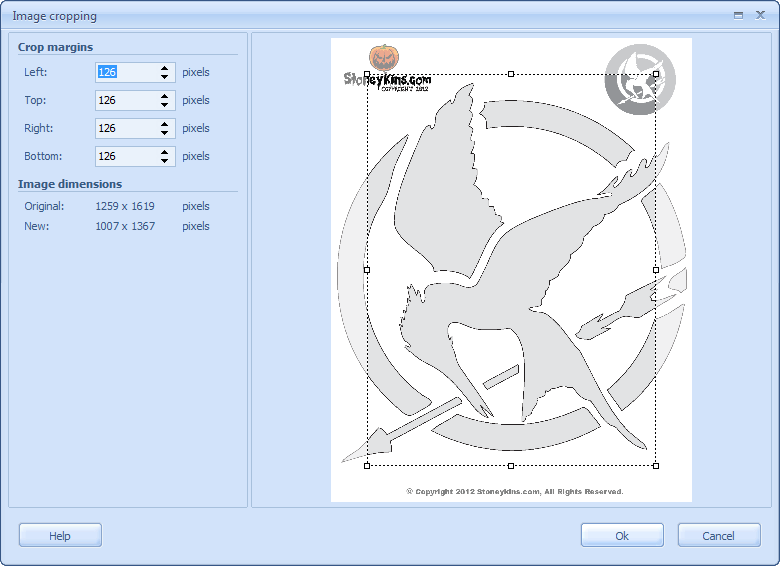
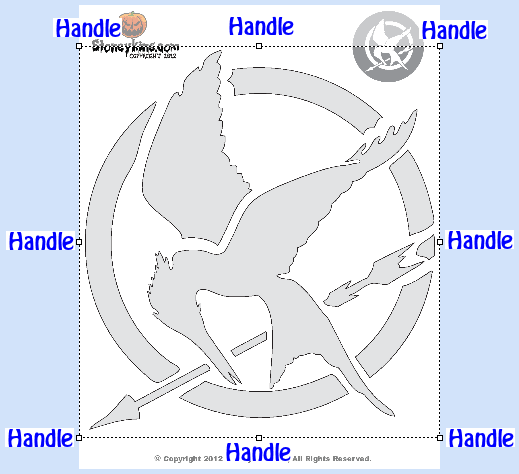
As Large as we can get the image on one Sheet.
For you Folks Overseas,
I Played with the width Number, until it filled the Sheet.
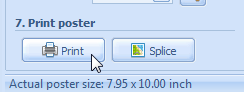
Click the Print Button on Bottom of Screen.
| ||||
|
#6
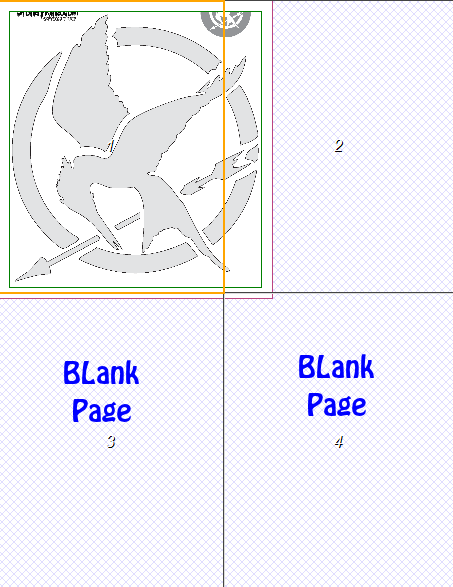
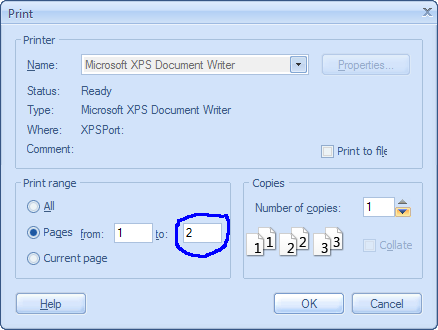
Printing on 2 Pages to Enlarge the Image
Even on a Med sized pumpkin you may want to blow up the image Even Larger
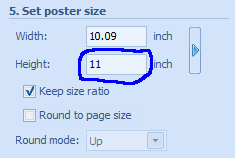
So to fill the front of the Pumpkin Follow the Steps Above (Always Crop the Image First) Then Change the Height of the Image. We want this pattern 11 inches High.
| ||||
|
#7
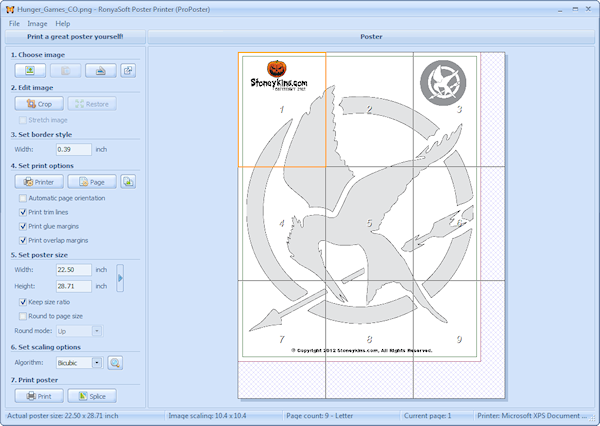
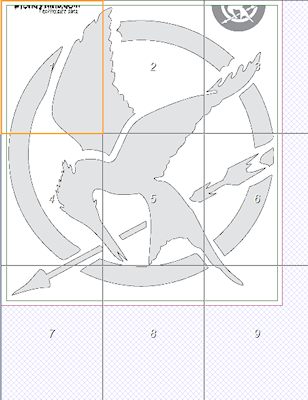
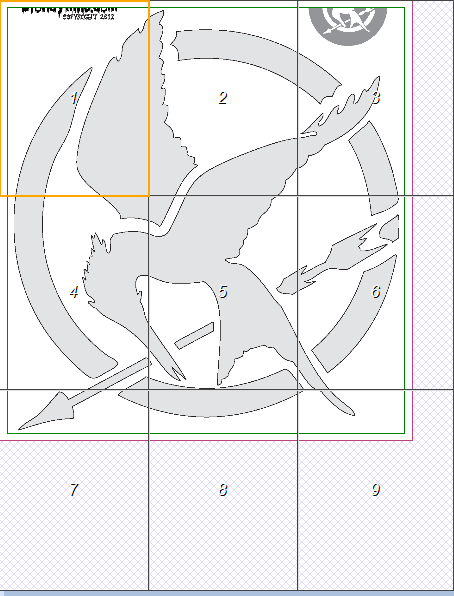
Enlarging your Pattern Let's go HUGE !! Good for Large & Jumbo Kins or Windowkins. If you need to enlarge your Pattern for Large Pumpkins, or for Windowkins etc... a) Crop as Above b) Change the height to whatever you need it to be. Here we made the Pattern 24 inches High to fit in a window. Change Height to 24 and Print This Pattern will Print on 9 Seperate Pages Just print them out and Tape them together.
| ||||
|
#8
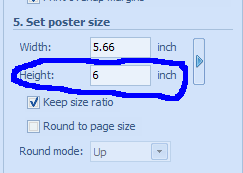
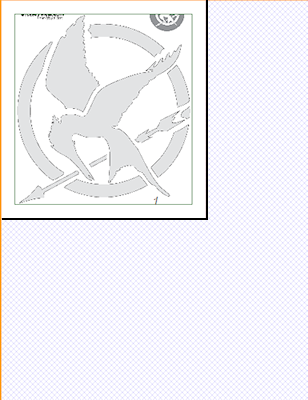
Shrinking your Pattern for Small Kins.
If you need to shink your pattern for a small pumpkin or Foam easter Egg etc...
Follow the Steps Above (Yes also Crop the Image) Then Change the Height of the Image. We made this 6 inches High.
| ||||
|
#9
ORDER Poster Printer
To Order Poster Printer Home Edition | ||||
| ||||
CARVING TOOLS - MEDIA - LINKS - SITE MAP - CONTACT US