|
How to Carve a Cut Out Pattern The Easy Way - Using Sticker Paper |
||||
|
This is what we will be carving.
Page 2 Gutting and Thinning our Pumpkin   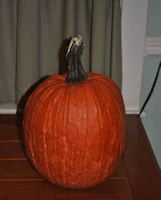   Here's a step by step on the entire process
| ||||
|
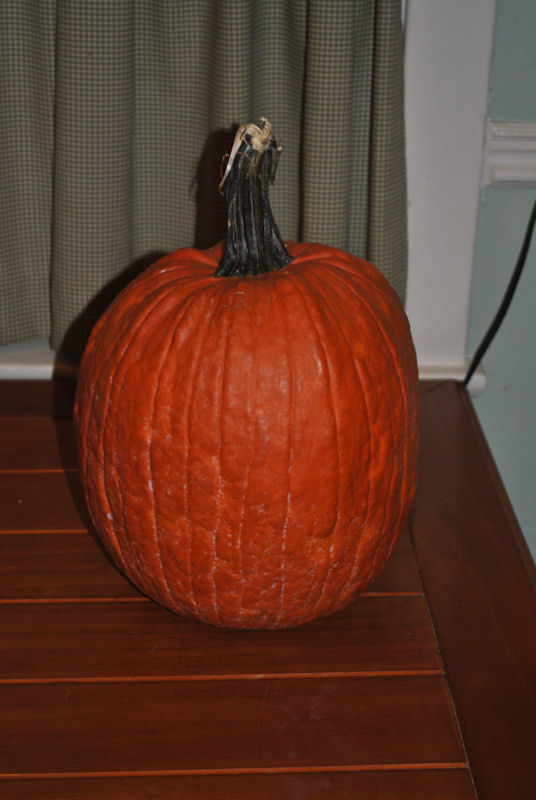
#11
Here's Our Real Pumpkin
I love Kins with big Ass Thick Stems :-)
| ||||
|
#12
Mark Where to Cut the Top Off
I Marked with a Marker the Shape were Going to Cut the Lid.
We want to Place a Notch in the Back
The Marker is just for the Tutor. 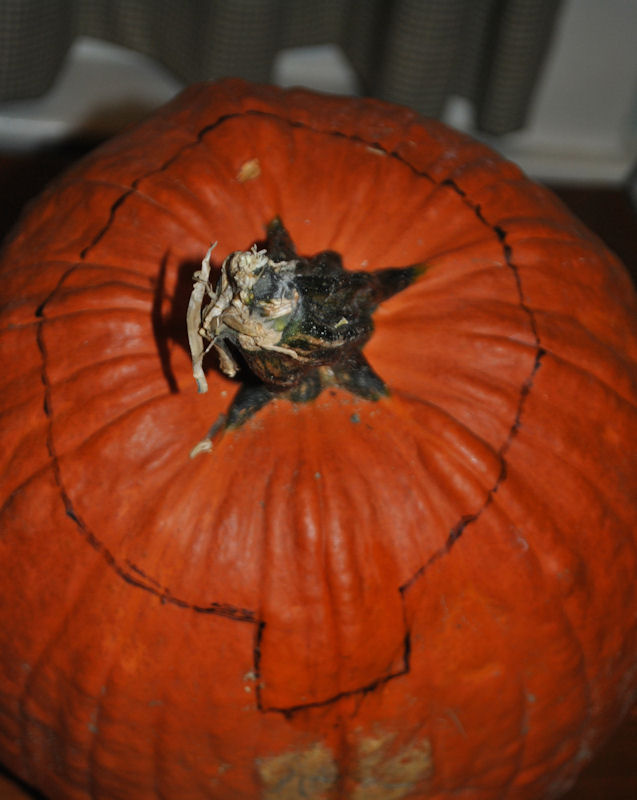
| ||||
|
#13
Tools Used for Gutting and Thinning the Walls
Here's the Tools We will Use
a) Dry Wall Saw to Cut the Lid
b) The Monster Scoop Bought at Micheal's Craft Stores
c) Ceramic Loop Tool to Thin the walls, and Clean the Bottom. 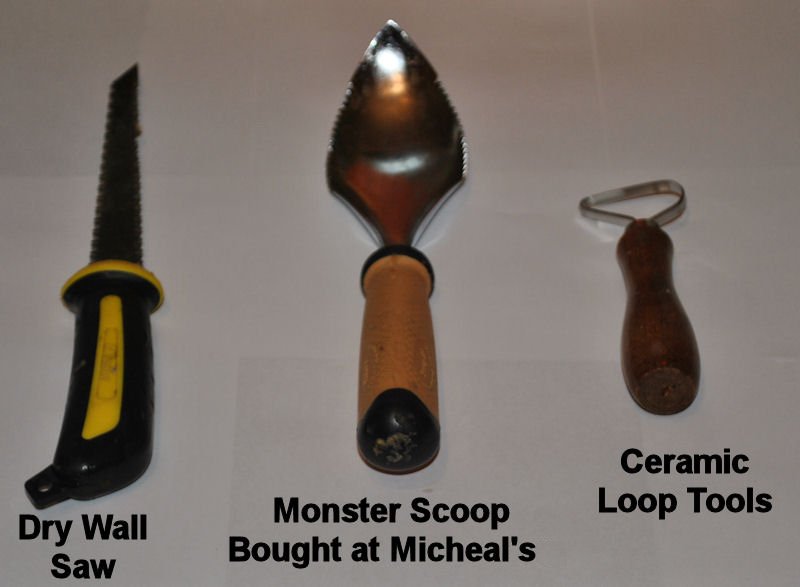
| ||||
|
#14
Cut the Lid Off.
Grab the Dry wall Saw And Cut the Lid Off.
Hold the Saw on a 45 degree Angle 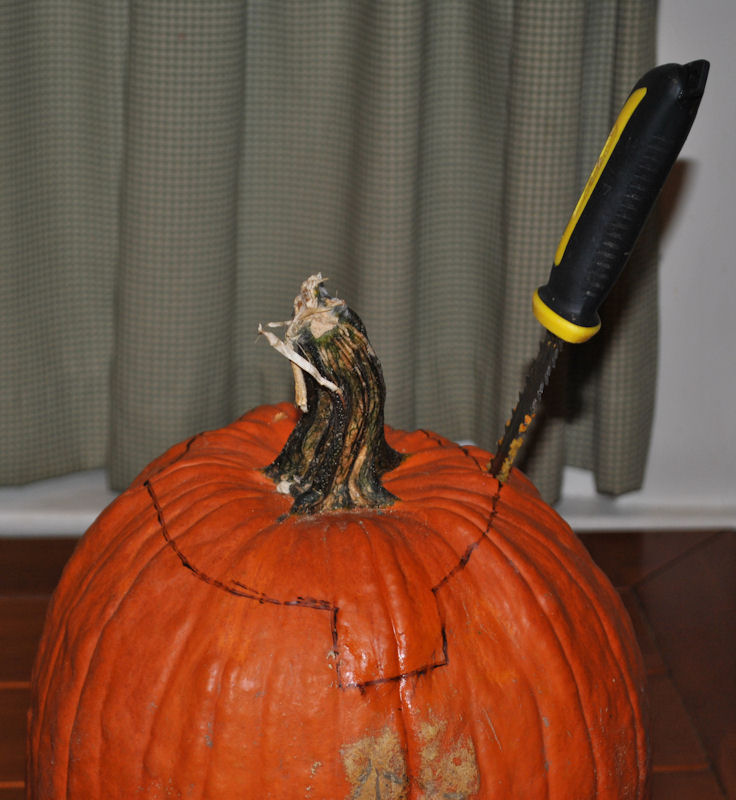
| ||||
|
#15
Cut the Bottom of the Lid so it's Smooth
Remove the Lid
And Cut off the SLOP - Off the Bottom.- LMAO ! With the Dry Wall Saw. 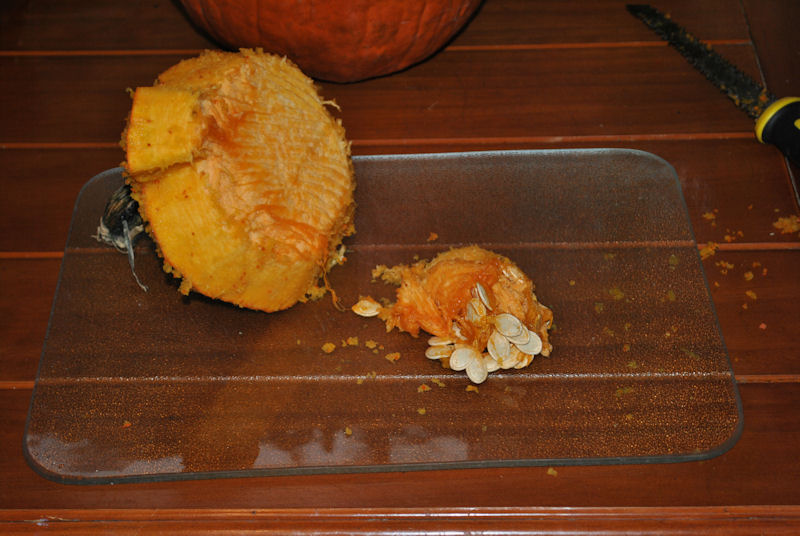
| ||||
|
#16
See How Easy it is to Replace the Lid !
You can See how Easy it is to replace the Lid,
With the Notch,
With-out the Notch, you would have to Keep spinning the lid until it goes on correctly 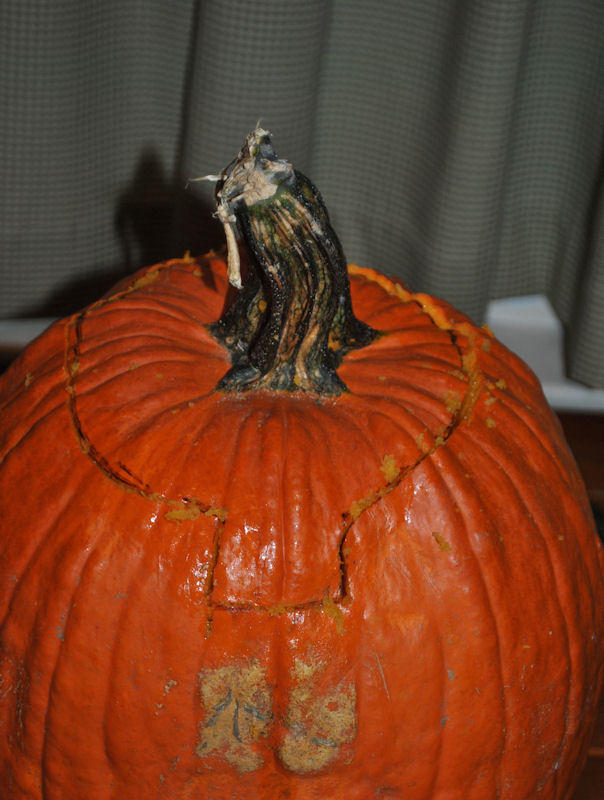
| ||||
|
#17
Lets Gut that Mo-Fo !
Remove the Lid - Yes Again - LOL
Now Grab your Monster Scoop (or Large Spoon)
And Go Around the Walls and Bottom Scraping We'll Clean Everything up Very Smooth with the Next Step / Tool. 
| ||||
|
#18
Scoop it Out.
Now Scoop Out the String and Seeds
You can Toss it in the Trash (umm I mean Compost) .... Or Seperate the seeds and Roast them. 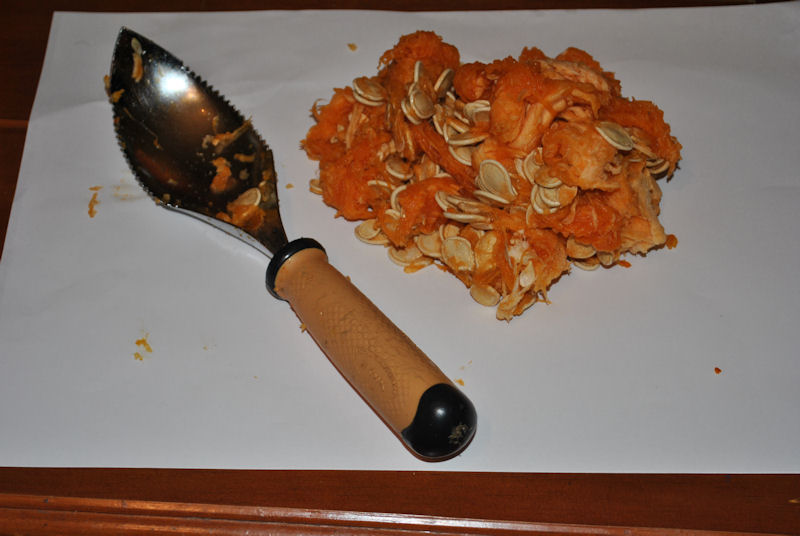
| ||||
|
#19
A Look at our Progress
Our Pumpkin Now looks like this
We will now Clean the inside and Thin The Walls
You will clean ALL the walls, But making sure the Front wall needs to be about a 1/2" inch to say 3/4" inch thick. Anything above that, is too thick ! 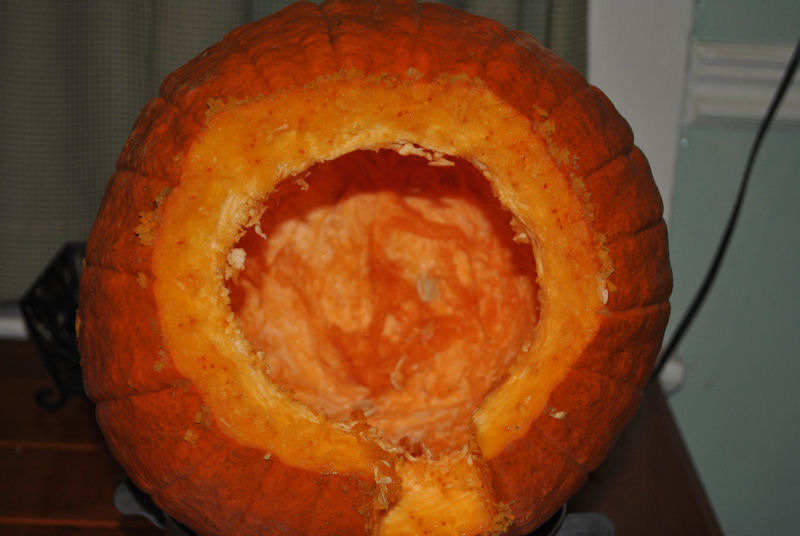
| ||||
|
#20
Clean and Thin the Walls Tool
Grab Your Ceramic Loop Tool
$3.91 in our Shop The Pear Shape One, works Best. 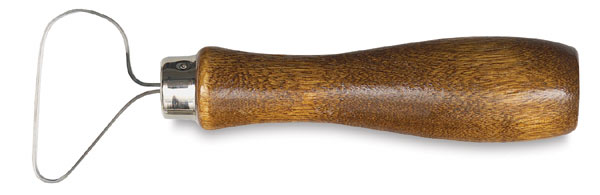
| ||||
|
#21
Start Cleaning and Thinning
Start inside the Bottom of the Wall and Pull the loop toward the top.
The Pumpkin Meat will come off in Strips Now just scrap the bottom a few times with the Loop and Dump Again. 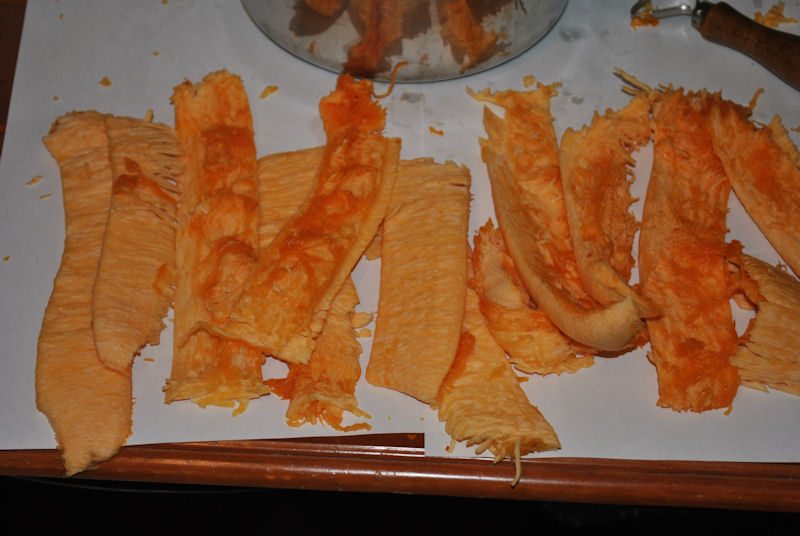
| ||||
|
#22
Now It's Ready
Now Look at Our Finished Gutted Pumpkin
This Puppy's Ready to be Carved 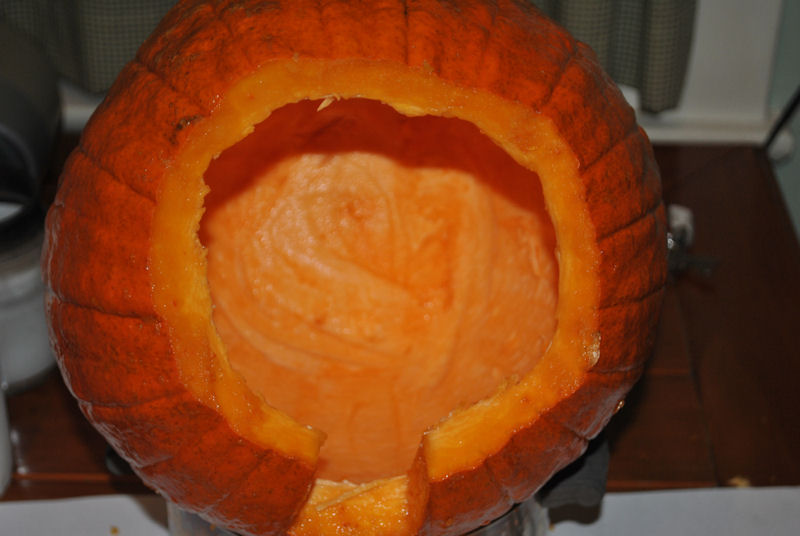
| ||||
|
#23
St0ney Fastest Gutter in the West !
(well the East Coast) Here's a Video of me Gutting a Pumpkin in Less then 50 seconds
I've Done it one time in 30 seconds | ||||
|
| ||||

HOME - PUMPKIN PATTERNS - CUSTOM ORDER - FACEBOOK GROUP - HOW TO?
CARVING TOOLS - MEDIA - LINKS - SITE MAP - CONTACT US