|
How 2 Stencil a Tee-Shirt From a Cut-Out Stencil |
||||
|
And we Continue our Stencil Tee Shirt Project 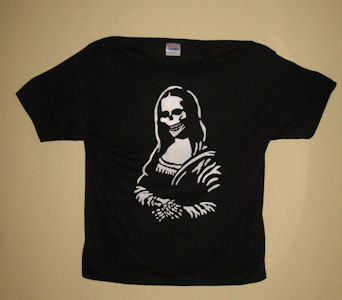 | ||||
|
#15
Let's Get Cutting Grab your Exacto knife
And make sure it has a brand spankin new Blade Blades are Cheap and the sharper the better to cut the stencil. I buy them in bulk 25 blades in a little black box 
| ||||
|
#16
Start in the Center Just like carving a pumpkin,
start in the center of the stencil and cut the smallest shapes first. in this stencil it's her Pretty Smile 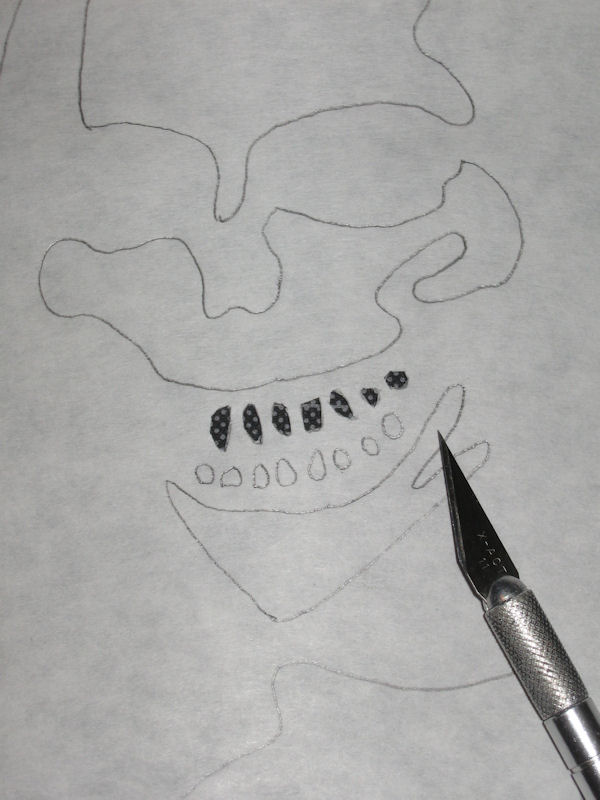
| ||||
|
#17
And Were Cutting 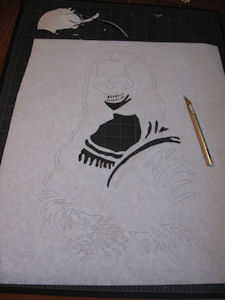
| ||||
|
#18
And Cutting . . . 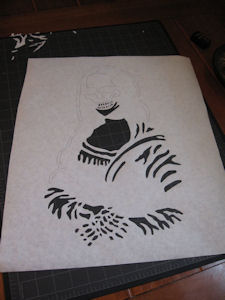
| ||||
|
#19
Were Done Cutting 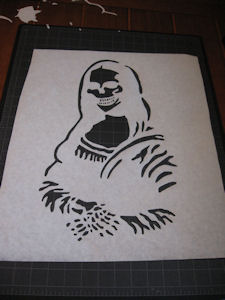
| ||||
|
#20
Iron the Shirt Place your Tee shirt on a towel and Iron out any wrinkles.
After you Iron out the wrinkles, Place a Peice of cardboard inside the tee Just in case the paint you chose Bleeds a little. NOTE: It is highly recommended to Pre-wash new shirts before painting on them. 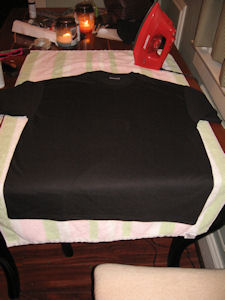
| ||||
|
#21
Lay the Freezer Paper on the Shirt Place your Freezer Paper Stencil
(Glossy Side Down on Tee) 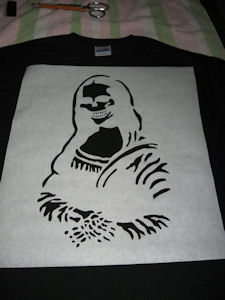
| ||||
|
#22
Iron Over the Freezer Paper With a HOT Iron Go over the Stencil
(This makes the Stencil stick to the Shirt like a giant sticker) Notice I only went over the stenciled area instead of going over ALL the freezer paper. This will help later when we need to remove the stencil 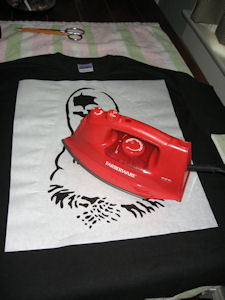
| ||||
|
#23
Fabric Paint and a Sponge Brush Here we have our fabric paint and a sponge brush,
I use a small peice of freezer paper and pour the paint on it. NOTE: instead of using Fabric Paint, you could use Any Acrylic Paint, but you will need to add Fabric Medium and mix them together. Fabric Medium Can be bought in my store or at a art supply store. The Mix should be 2 parts paint 1 part Fabric Medium. Adding Fabric Medium Makes Acrylic Paint, Fabric Paint. 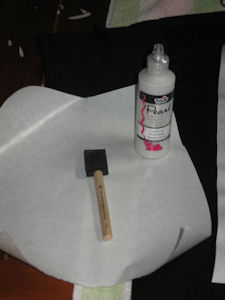
| ||||
|
#24
Let's Paint Just Cover the Stencil with the paint
DAB IT ON ! Don't use strokes Let the paint Dry Completley, we will be adding another Coat, after the first coat Dries. NOTE to speed the drying process, you can use a Hair Dryer on High Heat, The Paint will dry in just a few minutes (instead of waiting Hours). 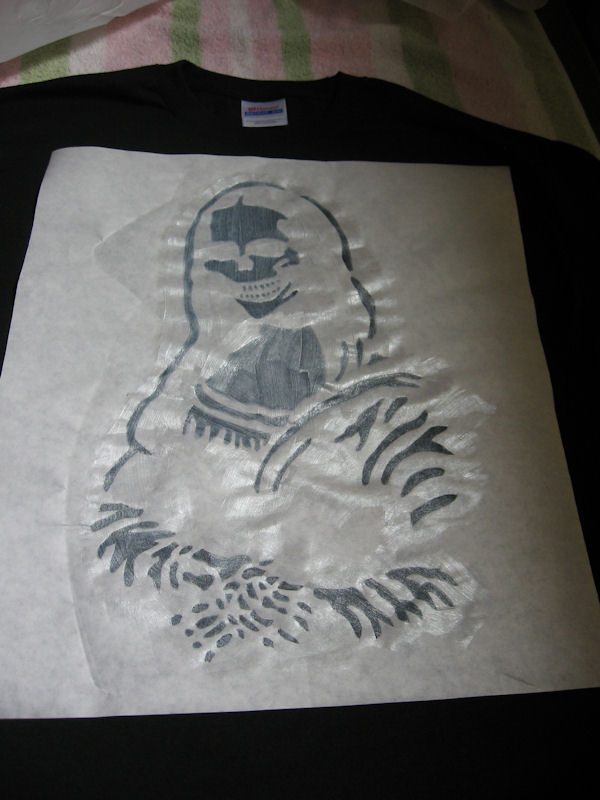
| ||||
|
#25
Once Dry add a 2nd Coat After the First Coat is Dry Repete with a 2nd Coat
Let Dry as before, or use the hair dryer again. NOTE: DO NOT REMOVE THE STENCIL until the paint is completly dry, Or all your hard work will look smudged. 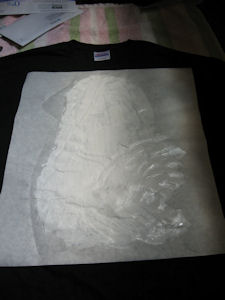
| ||||
|
#26
Once Paint is Dry / Remove Stencil Next After Your Sure the paint is 100% Dry
Remove the Stencil PREETY PREETY COOL ! We have just, One Last Step. 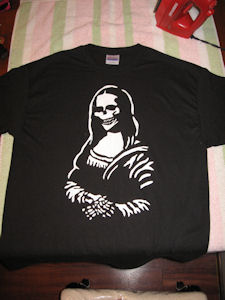 | ||||
|
#27
Yep, We have to Iron One Last Time Place another towel on top of the tee-shirt
And take a Hot Iron and go over the entire Painted Area This Fuses the Paint to the Fabric. NOTE: If you do not do this your paint will chip ! 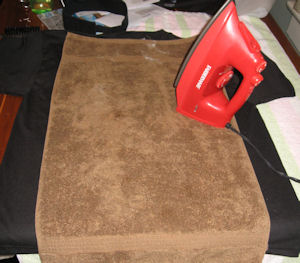
| ||||
|
#28
Here's Our Finished Tee Shirt 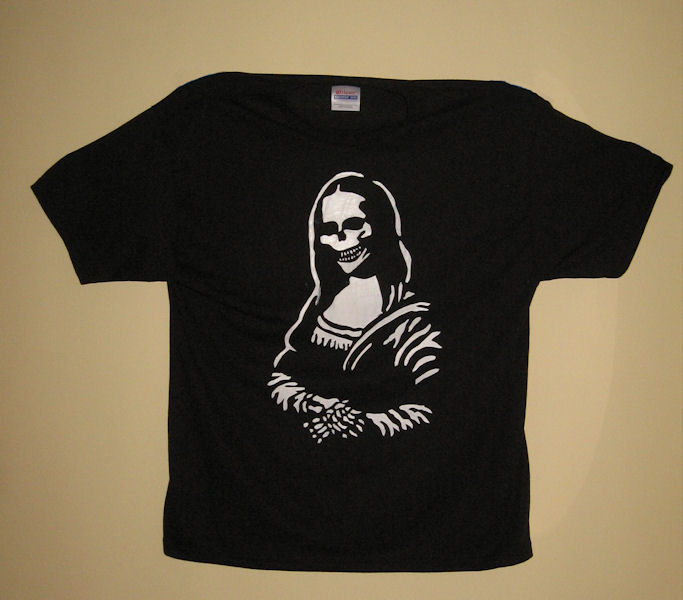 | ||||

| ||||
CARVING TOOLS - MEDIA - LINKS - SITE MAP - CONTACT US