|
How to Carve a 3 Color Shaded Pattern On a Real Pumpkin |
||||
|
This is what we will be carving.
 Here's a step by step on the entire process
| ||||
|
#1
Print Out Two Patterns
Print out two patterns, one will be used for the Carve, the other just for Reference.
Cut off excess paper around the perimeter of one; leave about 1/4 inch of white around it. 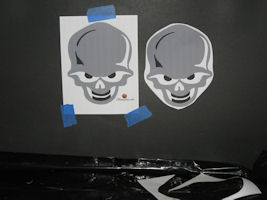
| ||||
|
#2
Picking the Right Pumpkin
Buy or pick your pumpkin.
Always choose your pattern first, then find the right Kin that the pattern will fit on. For example if I were to carve that Frankenstein skull on the front page, I would look for a tall and peanut-shaped Kin. Because our little space friend is nice and round, we'll use a nice round Kin. 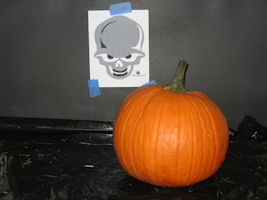
| ||||
|
#3
Draw where to Cut the Lid
With a Black Sharpie draw a circle around the top of the pumpkin.
I always add a little lip toward the back of the circle. This helps when taking the lid on and off; you'll know exactly how to place the lid back on. 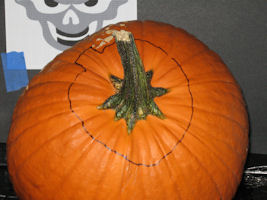
| ||||
|
#4
Tool for Cutting
Long thin serrated knife
If you have a Dry wall Saw that will work even better! 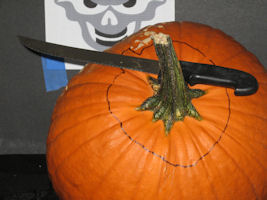
| ||||
|
#5
Cut on a 45 degree Angle
Start cutting around the circle you drew
hold the knife at a 45 degree angle. The angle is important; This will stop the lid from falling in. 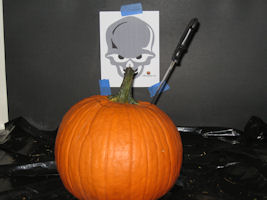
| ||||
|
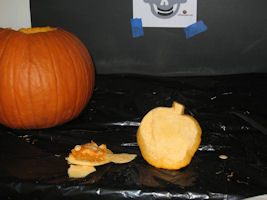
#6
Slice the bottom of the Lid
Remove the lid and slice it smooth on the bottom.
To make it Flat. No Hanging Guts 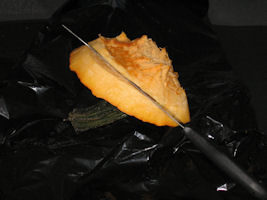 Like this
 | ||||
|
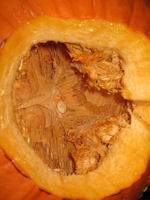
#7
Next were going to Gut The Inside of our Pumpkin
Why's it called gut? Look at the photo. Yikes!!
| ||||
|
#8
Tools Used for Gutting Pumpkins
TOOLS - I like to use The Monster Scoop from Michael's for $6.99
(a large spoon will also do the trick) and a nice metal scraper bought at Wal-Mart in a carving kit. 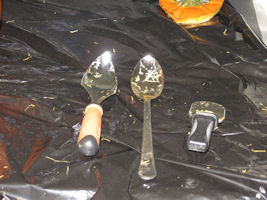
| ||||
|
#9
Scrap and Remove the Guts
Scrape all the guts out: Seeds, strings, and such.

| ||||
|
#10
Thinning the Walls
Grab the scraper and start thinning out the inside of the pumpkin.
You want the side walls to be about 1/2-inch thick. The tool on the right also came in the same kit. Known as a ceramic loop tool, it does wonders for smoothing the inside. 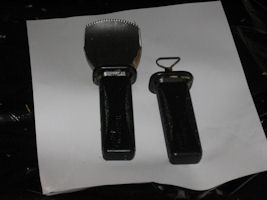
| ||||
|
#11
The Best Tool for Thinning the Walls.
The BEST tool for cleaning and thinning the walls is a clay loop tool.
NOTE: The pear-shaped one is the best (model LT5). You can buy one here on the site. Click Carving Tools button above. 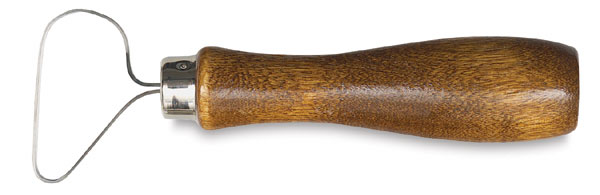
| ||||
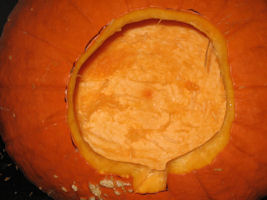
|
#12
Here's How it Looks Cleaned
There. That's Pretty.
| ||||
|
#13
Clean the Pumpkin
Now we need to clean the Kin.
I just place it in the bath-tub with cold water. Or if you Have a Large Sink, that would be better Clean the outside and inside with a washcloth. Don't forget to clean the lid. Water is a pumpkin's best friend. Note: Make sure you clean the tub when you're done or your wife will get Really Pissed. Trust Me !!! 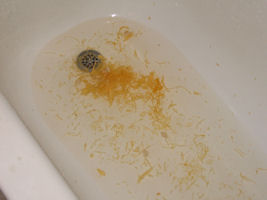
| ||||
|
#14
Now Dry the Pumpkin
Now we have a nice clean Kin.
Lets dry him: I just use paper towels. Make sure you get in between all the little lines, and make sure the outside is Very Dry! This is important for when we tape on the pattern! 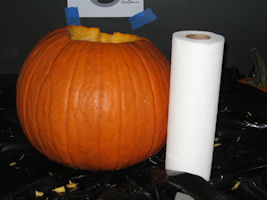
| ||||
|
| ||||

HOME - PUMPKIN PATTERNS - CUSTOM ORDER - FACEBOOK GROUP - HOW TO?
CARVING TOOLS - MEDIA - LINKS - SITE MAP - CONTACT US