|
How 2 Make a Windowkin |
||||
|
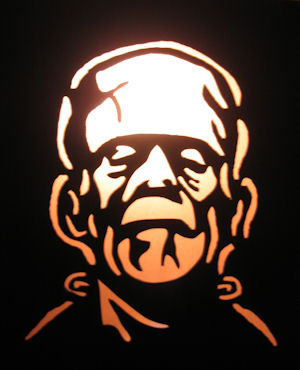
This is what we will be making
 | ||||
|
Whats a Windowkin? You ask.
A Windowkin is a handmade window decoration made from a Halloween Cut-Out Pattern/Stencil
They can be made from many different materials. Such as Poster-Board, Foam Core, Felt, or Even Ply-wood. Keep in mind the pattern needs to be a 2 color pattern, known as a Cut-Through Pattern. After the Large Pattern is cut-out and the back covered in colored tissue paper Or a Plastic Tablecloth, you hang it in your window and back light it.
| ||||
|
#1
Download a Cut Through Pumpkin Stencil
First thing we need is a Pumpkin Stencil.
for this tutor were going to use Ol' Franky Baby. And we will be using Black Foam Core 
| ||||
|
#2
Measure the Window
Next we need to Take a Measurement of Our Window and Foam Core Board
To find out How big to Blow-Up the Stencil. 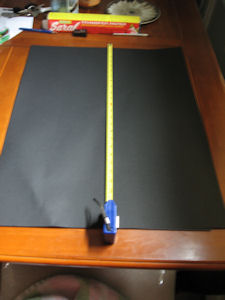
| ||||
|
#3
Blow-Up the Stencil
Now that we have our Stencil Picked Out
And Know what Size to Make it
We now need to Blow it up to the size of our Foam Board. We use a Poster Program to do so. The Program I use is ProPoster Found Here: Price $19.95. | ||||
|
#4
Load the stencil in the program
NOTE: If the Stencil is a PDF, You will need to convert it to GIF, JPG, or WMF
Proposter does not support PDF Files Put in the Size of your Foam Core, Make sure you click in the box to Keep aspect ratio. (so your pattern does not distort) The Size foam core I'm using for this tutor is 22 inches wide, so I put in 18 inches for the width. To Leave a boarder Arond it. Click on the Print button. This Poster will print out in six seperate pages.  Click Image to Enlarge
| ||||
|
#5
Our Printed Sheets
Here's our Six printed sheets
The next step is to cut and tape them together 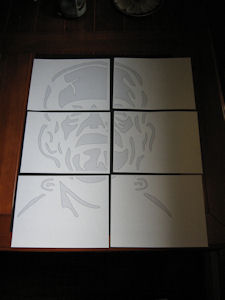
| ||||
|
#6
Grab your Scissors & Tape
Grab your Scissors & Scotch Tape, And Trim your Pages,
The program will print cut-lines on each page 
| ||||
|
#7
Cut the Cut Lines (Dashed Lines)
Cut out the cut-lines Like this
NOTE: Not all of the Cutlines need to be cut, Just the Small Cutlines that will overlap on other pages. 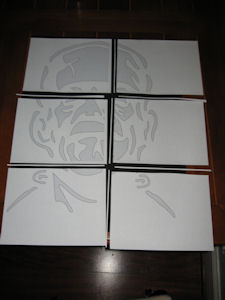
| ||||
|
#8
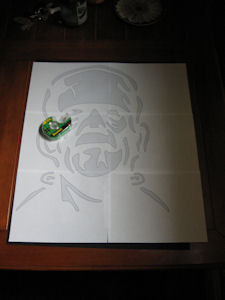
Tape the Pages Together
Tape your pages together
with Scotch Tape
| ||||
|
#9
Trim the Large Stencil
Grab your Scissors again And trim off some of the blank white areas on the Right, Left and Bottom
This will help to center the Stencil on the Foam Core 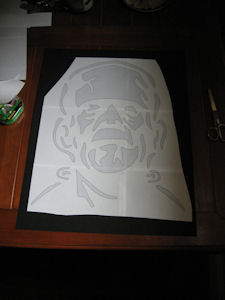
| ||||
|
#10
Tape to Board with blue Painters Tape
Tape down the Top of the Stencil
Use Blue Painters Tape It Removes Easy Click Image to veiw Larger 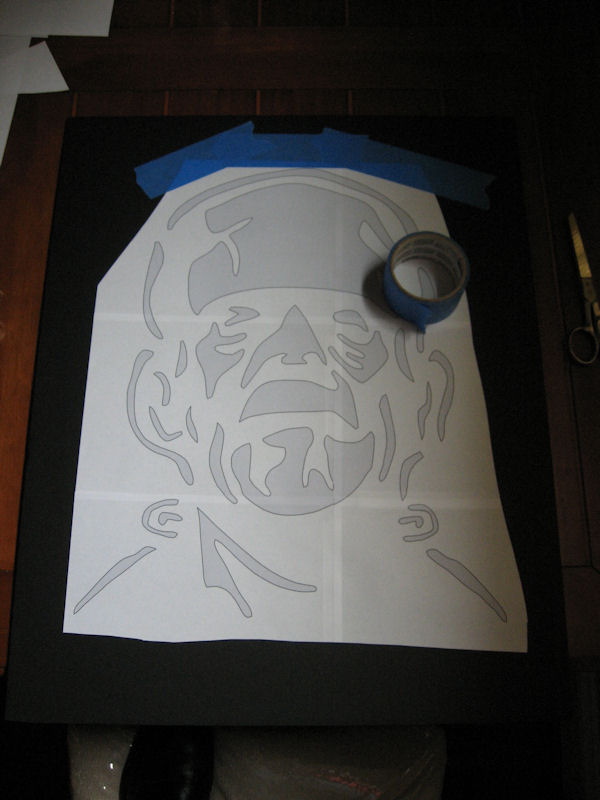
| ||||
|
#11
Use Saral Transfer Paper
Now Cut a Sheet of Saral Transfer Paper,
And Place between the Stencil and Foam Core I Used Blue transfer paper And it worked well White or yellow would have worked better. NOTE: Saral Transfer Paper Comes in 5 Different Colors, including White or Yellow 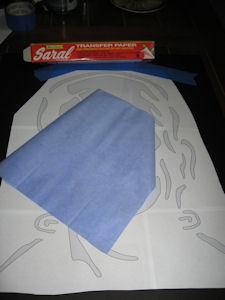
| ||||
|
#12
Place the Transfer Paper under the Stencil
Now grab a Black or Blue ballpoint Pen
And Start Tracing the Pattern Move the Transfer Paper Around as you Go the one small sheet can be used for the entire project 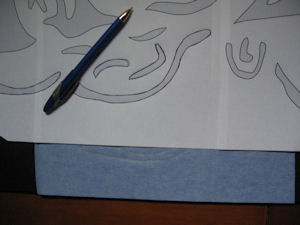
| ||||
|
#13
Take a Peek as you Go
At anytime you can flip the Stencil over
to check your work. 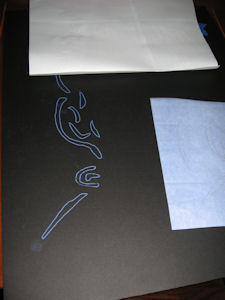
| ||||
|
#14
Keep Tracing
Keep Moving the Tranfer Paper And Keep Tracing
Until every Line has been traced. This is important for when we tape on the pattern! 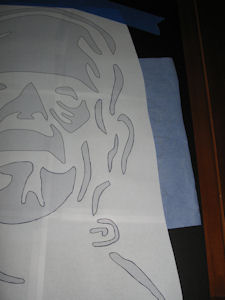
| ||||
|
#15
And Were Done Tracing
Once Your Done Tracing the Stencil, Double Check that you traced Every Single Line
Then Remove the Stencil. (un-tape it) Looking Good ! 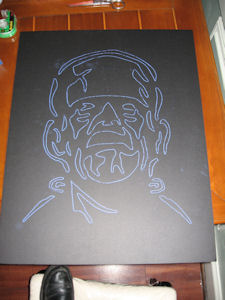
| ||||
|
| ||||

HOME - PUMPKIN PATTERNS - CUSTOM ORDER - FACEBOOK GROUP - HOW TO?
CARVING TOOLS - MEDIA - LINKS - SITE MAP - CONTACT US