|
How 2 Stencil a Tee-Shirt From a Cut-Out Stencil |
||||
|
This is the we will be Making. 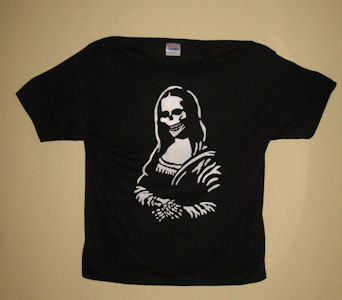 Here's a step by step on the entire process
| ||||
|
In this tutorial, I will show you How to make your very own tee shirts from a cut-out pumpkin Stencil, I will also give extra tips to help make it more simple | ||||
|
#1
Get a Stencil First thing we need is a Pumpkin Stencil
For this tutor were going to use StoneyKins Deadly Mona CO Stencil. 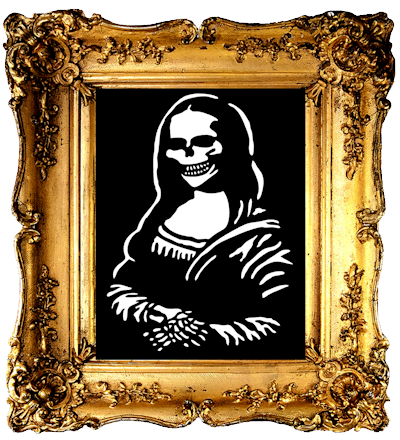
| ||||
|
#2
Measure the Area for the Stencil Now depending how large you want the image for the tee-shirt
You can print it out as is or Blow it up with a poster program. Take a Measurement of the Area you want to Cover. This is a large Adult shirt, So I have a Large Area So we'll Blow up the Pattern 
| ||||
|
#3
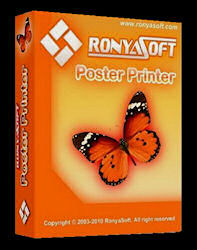
Blow up / Enlarge the Stencil We now need to Blow it up to the size of our Tee Shirt.
We use a Poster Program to do so. The Program I use is ProPoster Found Here: Price $19.95 | ||||
|
#4
Using Pro Poster Load the pattern in Proposter.
NOTE: if the Pattern is a PDF, You will need to convert it to GIF, JPG, or WMF First Proposter does not support PDF Files Put in the Size of your Tee Shirt, for this I put in 16.5 inches Make sure you click in the box to Keep aspect ratio.(so your pattern does not distort) Click on the Print button. The Pattern will now print out in two seperate pages. Click on image to enlarge. 
| ||||
|
#5
Here's a Sheets Printed Out. Here's our two printed sheets
The next step is to Trim and Tape them together 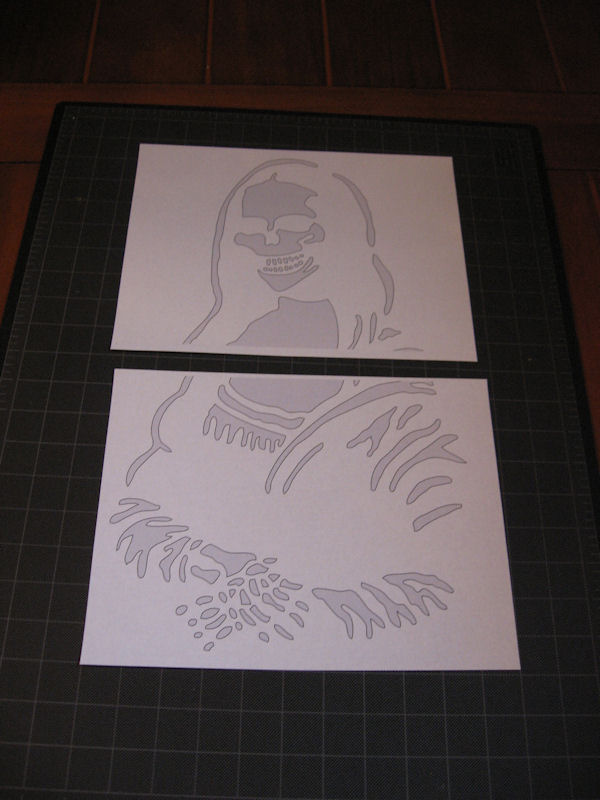
| ||||
|
#6
Grab Your Scissors Grab your Scissors & Scotch Tape, And Trim your Pages,
The program will print cut-lines on each page 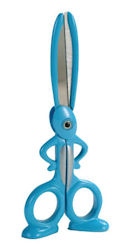
| ||||
|
#7
Cut the dashed Cut Lines Cut out the cut-lines Like this
NOTE: Not all of the Cutlines need to be cut, For this Size we only needed to trim one sheet The bottom one (for it over-laps on top of the top sheet). 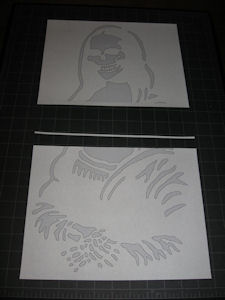
| ||||
|
#8
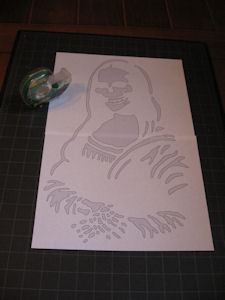
Tape the Sections together Now Place your Sheets together and tape them . with scotch tape.
| ||||
|
#9
Tape Down the Stencil Tape Down the Stencil to a Flat Surface
Best to Use a Self Healing Matt (I use Blue painters Tape) it removes very easy when the job is done 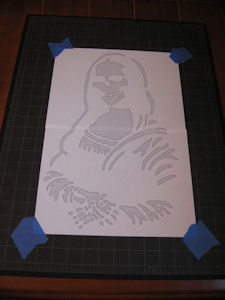
| ||||
|
#10
Get out the Freezer Paper Next we need our Reynolds Freezer Paper,
(found in most supermarkets) Cut a Sheet LARGER Than the Pattern 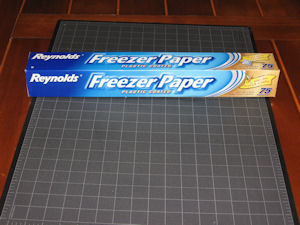
| ||||
|
#11
Lay the Freezer Paper over the Stencil Lay the Freezer Paper (Slick Side DOWN) ontop of the Pattern and Tape that Also.
(Were Getting ready to trace the entire pattern.) TIP: If you have an inkjet printer, You can cut the freezer paper the size of standard sheets and print the pattern directly on the freezer paper. make sure you print on the Flat Side not the glossy side. This will by-pass the few steps above and the Tracing Steps below, Just Print from the poster program directly on the freezer paper. 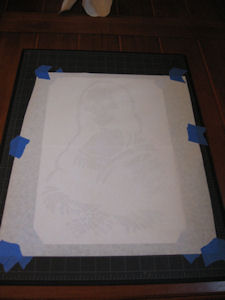
| ||||
|
#12
Get your #2 Pencils Out Grab 2 sharp pencils and start tracing the pattern on the Freezer paper
The Freezer paper is very translucent so seeing the lines to trace is no problem. 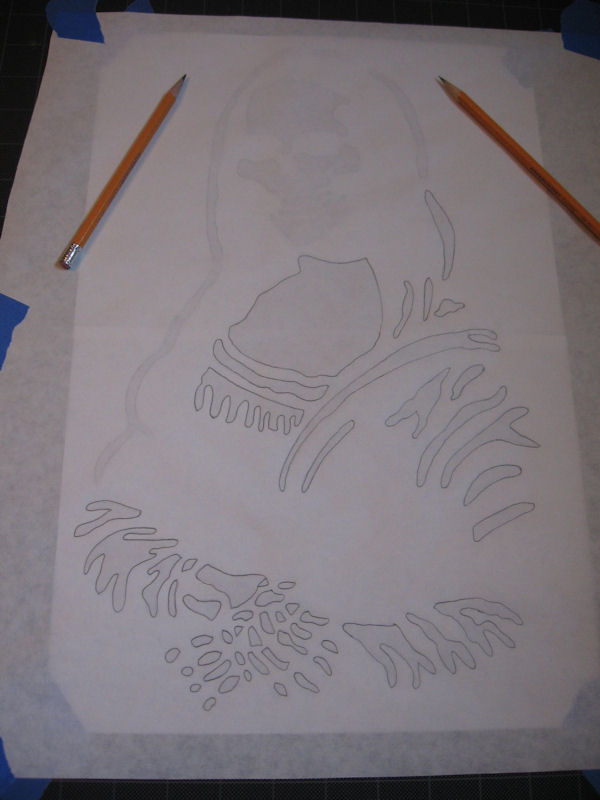
| ||||
|
#13
Done Tracing And Were finished tracing the pattern
Make sure you traced Every Single Line before removing the Freezer paper. Now Remove (untape) the Freezer Paper and the Pattern 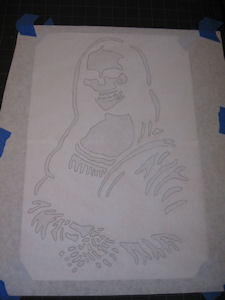
| ||||
|
#14
Grab Your X-Acto Knife Now we need to start cutting out the pattern with an exacto knife. I use a #2 Exacto Knife,
Use a NEW Sharp Blade 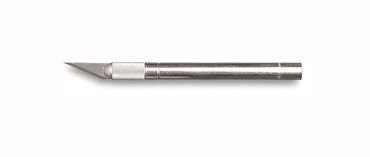
| ||||
|
#15
Use a Self Healing Mat Or Ply-Wood Before you start cutting Use a Self healing Mat under your Freezer Paper.
So you don't cut into your table If you dont have one, then lay down some thick cardboard or some plywood under your Freezer Paper. The Self healing Mat is a Great Buy, if you do a lot of cutting. 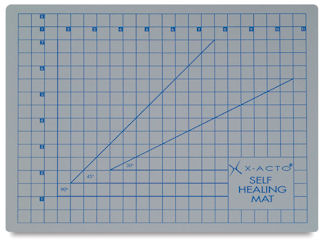
| ||||
|
| ||||

HOME - PUMPKIN PATTERNS - CUSTOM ORDER - FACEBOOK GROUP - HOW TO?
CARVING TOOLS - MEDIA - LINKS - SITE MAP - CONTACT US